Chalkboards aren’t just for classrooms. Don’t believe me? Well ladies, be prepared to snag a box of chalk because blackboards have graduated to bigger and chicer things… and they are headed straight for your home! Thanks to chalkboard paints, you can make your mark on everything from flower vases to living room walls. Speaking of living rooms—one of my friends and her roommates, painted a wall in their living room with chalkboard paint. They're constantly writing silly messages to one another on it and update it with fun drawings too. Last month, she drew this flag for the 4th of July:
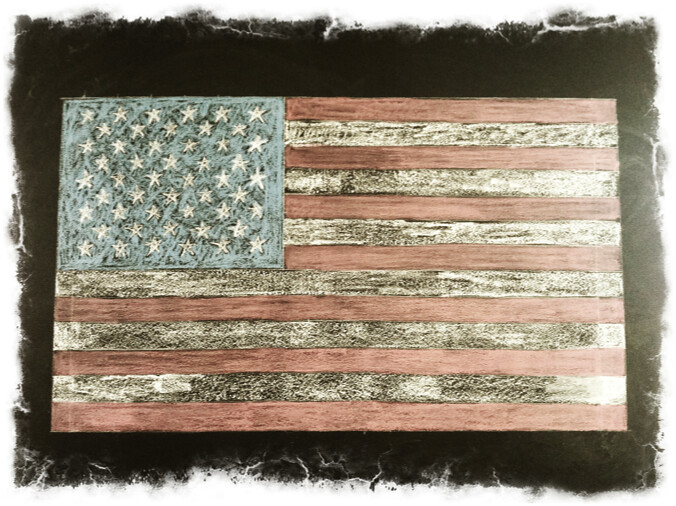
Pretty cool, right?
Now, you may be thinking, “I don’t think I want to paint an entire wall of my home like a chalkboard that will remind me of my 2nd grade classroom.” And you don’t have to. There are plenty of ways to incorporate this fun idea into your home. Here are a few ideas:
Grocery or shipping lists…
Now, you may be thinking, “I don’t think I want to paint an entire wall of my home like a chalkboard that will remind me of my 2nd grade classroom.” And you don’t have to. There are plenty of ways to incorporate this fun idea into your home. Here are a few ideas:
Grocery or shipping lists…
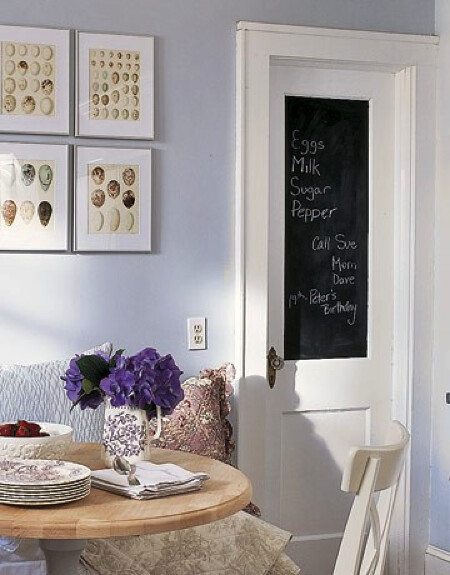
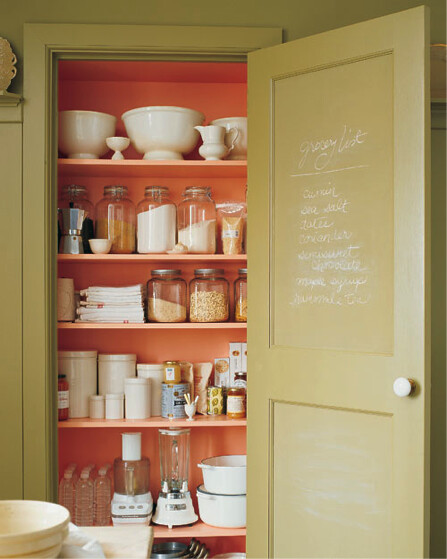
A message board…
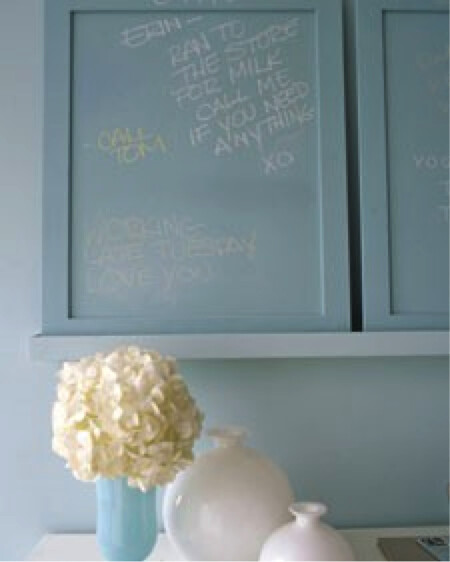
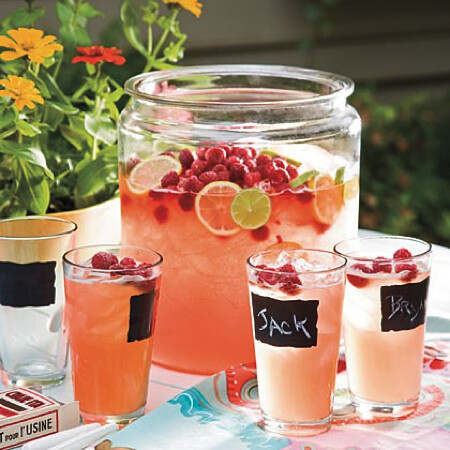
Or, use it to label things!
Other ideas for chalk paint:
- vases
- tabletops (Could be fun for guests!)
- wall calendar
- the base of your wine glasses (to label with names)
The traditional in-store paints only come in classic shades of black or green. However, I recently discovered that you can make your own batch of the paint in any shade!
Here’s how to make your own chalkboard paint in just 10 simple steps courtesy of the only and only, Martha Stewart…
Note: You will probably have to make a trip to your local home improvement store. I can’t imagine anyone has “unsanded tile grout” just laying around.
What you need…
Here’s how to make your own chalkboard paint in just 10 simple steps courtesy of the only and only, Martha Stewart…
Note: You will probably have to make a trip to your local home improvement store. I can’t imagine anyone has “unsanded tile grout” just laying around.
What you need…
- flat-finish latex paint in any colour
- unsanded tile grout
- paint stirrer
- paint roller or sponge paintbrush
- 150-grit sandpaper
- sponge
Instructions (as listed in Martha Stewart Living, January 2007)
- Pour 1 cup of paint into a container.
- Add 2 tablespoons of unsanded tile grout into paint.
- Mix with a paint stirrer, carefully breaking up clumps.
- Apply paint with a roller or sponge paintbrush to a primed or painted surface.
- Work in small section, going over the same spot several times to ensure even coverage.
- Let dry.
- Smooth area 150-grit sandpaper.
- Wipe off dust.
- Rub the side of a piece of chalk all over the entire painted surface.
- Lastly, wipe away chalk residue with a barely damp sponge.
What are you going to paint?
Saskia XO
Saskia XO

No comments:
Post a Comment
Thank you for your comment. I will get back to you asap! <3