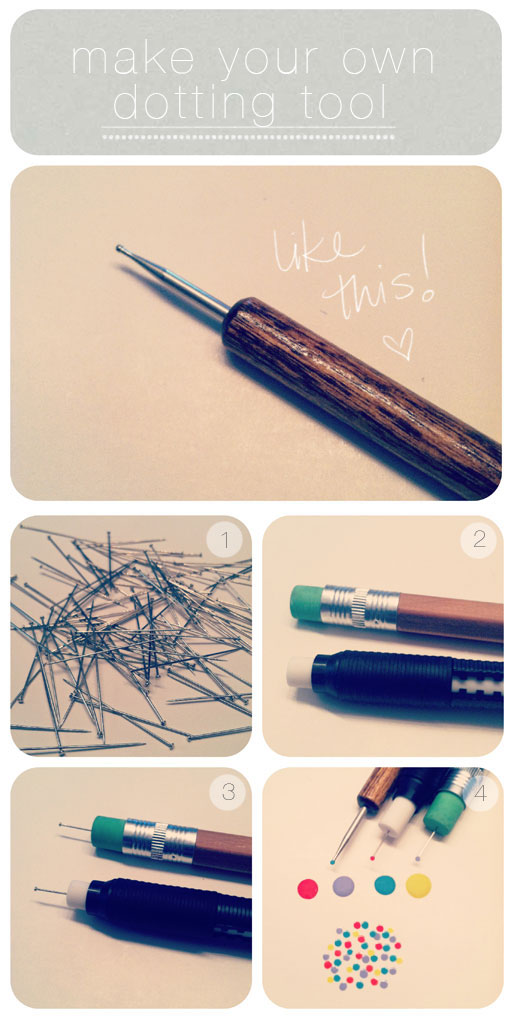
So many dots, so little time. Between the nail pictures you send me + the nail tutorials seen on Pinterest, I have noticed that polka dots are a major favourite right now. Getting those perfect little circles isn’t easy unless you have the right tool– the dotting tool. You can buy them at beauty supply stores and you can find similar tools at art supply stores… or better yet, you can simply make your own using things you most likely have in your house already. Here are the steps!
- Get a straight pin. You’ll notice there are different sizes when you’re at a fabric store (I used superfine for this).
- Get a number 2 pencil with an eraser or one of those retractable erasers as seen above.
- Insert the pin into the eraser. Try to keep it straight. If you push it into the eraser and notice it’s crooked, just bend it a little to center it. That will insure you get a perfect dot every time.
- Dip + dot!
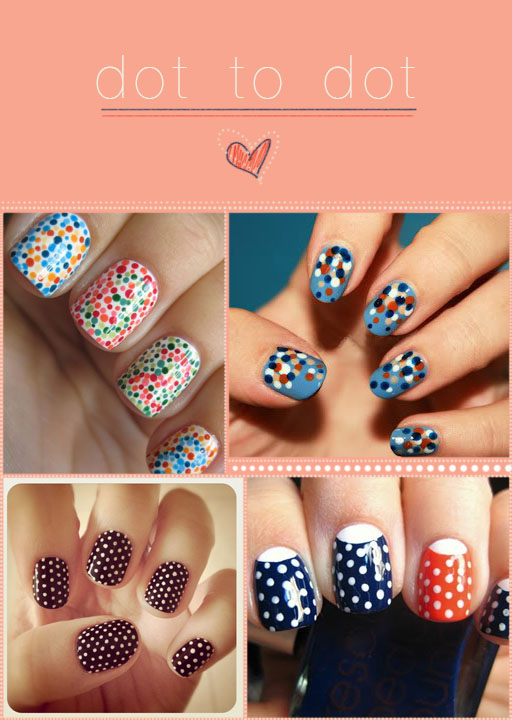
- Top left by Goose’s Glitter
- Top right by Emily Denise Photography
- Bottom left by Lyndarthemerciless
- Bottom right by Goose’s Glitter
Happy Vaycay-ing!
Saskia XO


No comments:
Post a Comment
Thank you for your comment. I will get back to you asap! <3